Subscribe to our newsletter
Thank you! Your submission has been received!
Oops! Something went wrong while submitting the form.

It’s so easy to spin up new things in Kubernetes: new deployments, volumes, and secrets. It feels good. But after some time, if you forget these in a corner and no one owns those resources… chaos settles in.
Without clear ownership, here’s what usually happens:
PersistentVolumes, ConfigMaps, Secrets, Jobs that have finished but never cleaned up; resources that no one maintains or knows are there.
Bills spike, no one knows why: Because in cloud environments, you pay for what’s provisioned, not just what’s used. If a volume is sitting there unused, or an idle workload with a huge memory request, you pay.
Security holes appear: some Secrets or ConfigMaps were for old apps, but are still accessible. Or workloads without resource limits can be abused.
At PerfectScale, we've seen these exact patterns. Teams spin up resources for a demo or a feature, forget to delete them; labels or roles aren’t set properly, so no one knows who’s responsible; costs start creeping up quietly. When you add multiple teams, environments (dev/staging/production), and workloads that come and go, things get messy really fast.
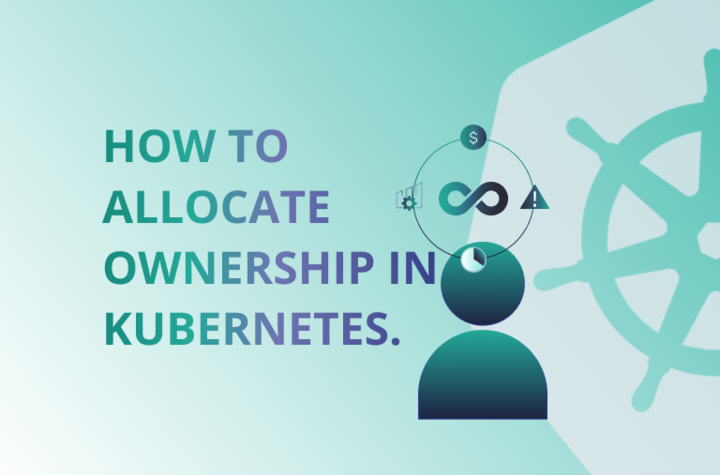
So here’s the promise: ownership = visibility + accountability + efficiency.
Visibility means you know what resources are in your cluster, who owns them, why they’re there. Accountability means someone is responsible; if a resource leaks cost or causes risk, that person/team knows. Efficiency means less wasted spending, fewer orphaned resources, cleaner clusters, and you know that directly leads to better performance, easier ops, and lower risk.
Here are the levels of ownership, why each matters, and how people usually use them:
This is the topmost layer. Whoever owns the cluster is responsible for the infrastructure: the Kubernetes control plane, networking, node (servers) setup, storage, overall resource pools, cluster-security, upgrades, etc.
Each namespace is a bounded space where teams or projects work. Namespace owners are responsible for everything in that space: apps, services, secrets, configs inside the namespace, how much resource they are using (CPU, memory, storage), access control inside that namespace.
These are the pieces inside the namespace: things like Deployments, Pods, ConfigMaps, Secrets, PersistentVolumes, and Ingress resources. Someone has to own each of these: who created it, who maintains or deletes it, and who is responsible if things go wrong.
Clear ownership levels keep things clean, safe, and efficient.
There are different ways to allocate ownership in Kubernetes. Let’s discuss:
It helps decide who or what (which app, which team) gets to do what and where. It’s central to ownership.
Here’s how RBAC, ServiceAccounts, Roles, RoleBindings help us own our resources cleanly.
A ServiceAccount is a non-human identity inside Kubernetes. When apps, controllers, and Pods talk to the API, they use their ServiceAccount to identify themselves. Every namespace gets a default ServiceAccount. But that default account usually has almost no rights. If you want to give your app or service more power (but only what is needed), you create a custom one.
A Role gives permissions inside a specific namespace. For example: ability to get, watch, list pods or configmaps or secrets in that namespace.
A RoleBinding ties that Role to a subject: a User, Group, or ServiceAccount, but only inside that namespace.
This gives fine-grained ownership: each team or app owning its namespace gets to decide who can do what within that boundary.
Sometimes you need permissions that are not limited to one namespace. For example, you might need read access to secrets in many namespaces, or you need to manage cluster-level resources like nodes, or the ability to manage Ingresses or Persistent Volumes across namespaces. That’s where ClusterRole comes in.
ClusterRoleBinding ties a ClusterRole to subjects globally or across many namespaces. If you bind a ClusterRole with permissions to “get pods” in all namespaces to a service account, that account (or user) can list pods everywhere.
Example:
Let’s put it all together:
You have a service order-processor in namespace orders. It needs to read from ConfigMaps and Secrets (to load config, credentials), list and watch Pods, but not delete anything. You want to restrict its ability so that if that service gets compromised, the blast radius is small.
This setup means only that service account can do those actions; no more. The team owning orders namespace is owning this resource (the ServiceAccount and resources it uses).
You have a platform team managing logging agents or monitoring components that need to pull logs from many namespaces (or see pods in many namespaces) for metrics.
You create a ClusterRole:
Then bind that to a service account or user via a ClusterRoleBinding:
Now platform/metrics-sa has rights to list pods and namespaces everywhere. You can see clearly that the ownership of the monitoring/metrics service is clearly with the platform team. If there’s an issue with metrics, the platform team knows they own that access.

Namespaces help you organize, isolate, and enforce ownership. They give each team, project, or environment their own piece of the cluster so things don’t tangle.
Namespaces are good, but by themselves they don’t stop someone from putting in a workload that eats the entire cluster or leaving a secret unused forever. That’s where ResourceQuotas and LimitRanges come in.
These are Kubernetes features that let you budget and guard what a namespace can use, and how “big” (resource-wise) things inside it can get.
ResourceQuota: A way to cap how much resource (CPU, memory, number of pods, number of secrets/configmaps etc.) a namespace can consume. Kubernetes tracks usage per namespace and rejects new requests if the quota would be exceeded.
LimitRange: Lets you set min, max, defaults for resource requests and limits within a namespace. If someone makes a container without specifying CPU/memory, LimitRange can inject defaults. Or you can stop people from making containers that request way too high or too low.
Example
Let's take a scenario where you have team called Payments. They deploy microservices, databases, jobs related to payments. You create a namespace called payments. That’s their workspace.
Then, you put in two constraints:
ResourceQuota for payments
You want to say: this team can use at most 4 CPU cores, 8 Gi memory in total, no more than 20 pods, maybe no more than 5 persistent volume claims (PVCs), etc.
LimitRange for payments
So that within their namespace, they can't make a container request 0 CPU or 0 memory (which is bad), or ask for 10 CPUs per container if that’s unreasonable. Also, maybe set defaults so devs don’t always have to specify.
Namespaces + quotas + limits together give you a clear “who owns what, and how much of it” map.
Labels are key/value pairs used to identify or select objects. You can filter and operate on a set of objects using labels.
Annotations are also key/value metadata, but they are for non-identifying information. You don’t use them for filtering or selecting. They can be more freeform (longer, contain characters not allowed in labels).
Kubernetes has a set of well-known labels/annotations (app.kubernetes.io/, kubernetes.io/ etc.) that are recommended for certain standard metadata.
team: fintech, owner: tania@example.com etc, are custom labels that show who is responsible. cost-center: cc-1234 helps link resources to billing and annotations like description, slack-channel give more context.
You can see everything owned by team=fintech.
That’s how you find “all resources this team owns.”
Admission controllers are plugins inside the Kubernetes API server. They act right after authentication & authorization, but before the object is persisted (saved) to etcd. Some are built in: ResourceQuota, LimitRanger, PodSecurity, etc. others are dynamic: webhooks (mutating / validating) which allow custom logic.
“Mutating admission webhooks” can modify the request (e.g. add default fields, patch labels) before creation. “Validating admission webhooks” can reject requests that violate policy.
Also, you can use Kyverno that act as a policy engine that works as a dynamic admission controller. It intercepts requests from the API server, checks them against defined policies, and can mutate, validate, or generate resources.
Here’s how you write a policy so that every Deployment must have a label called owner.
validationFailureAction: Enforce means if someone tries to create a Deployment without that label, it will be rejected. The pattern says: check that metadata.labels.owner exists and has something (“?*” means at least something).
A NetworkPolicy is an object that controls the traffic flow (IP, ports) at the Pod level, both inside the cluster (pod-to-pod) or from outside. It works by selecting which pods the policy applies to, then defining ingress (incoming) and/or egress (outgoing) rules. For traffic control to actually work, your cluster’s network plugin (CNI) must support enforcing NetworkPolicies. If not, defining them has no actual effect.
Example:
Block all external incoming traffic to finance namespace
Let’s say your finance namespace handles money-sensitive stuff. You want only inside traffic from approved namespaces or pods to reach it. External or unapproved access should be blocked.
This says only pods from namespaces labeled team=finance, or pods in any namespace with role=audit, are allowed to talk to pods in finance. Everything else is implicitly blocked for ingress.
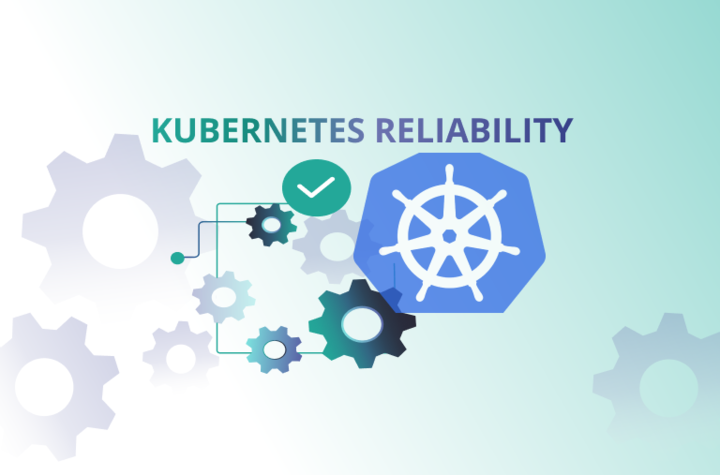
Clear ownership changes the story. It makes teams accountable for what they run.
It keeps costs under control because every CPU, every gigabyte of memory, and every persistent volume has an owner. It improves reliability, because you know exactly who to call when something breaks. And it improves security by providing defined boundaries and access control.
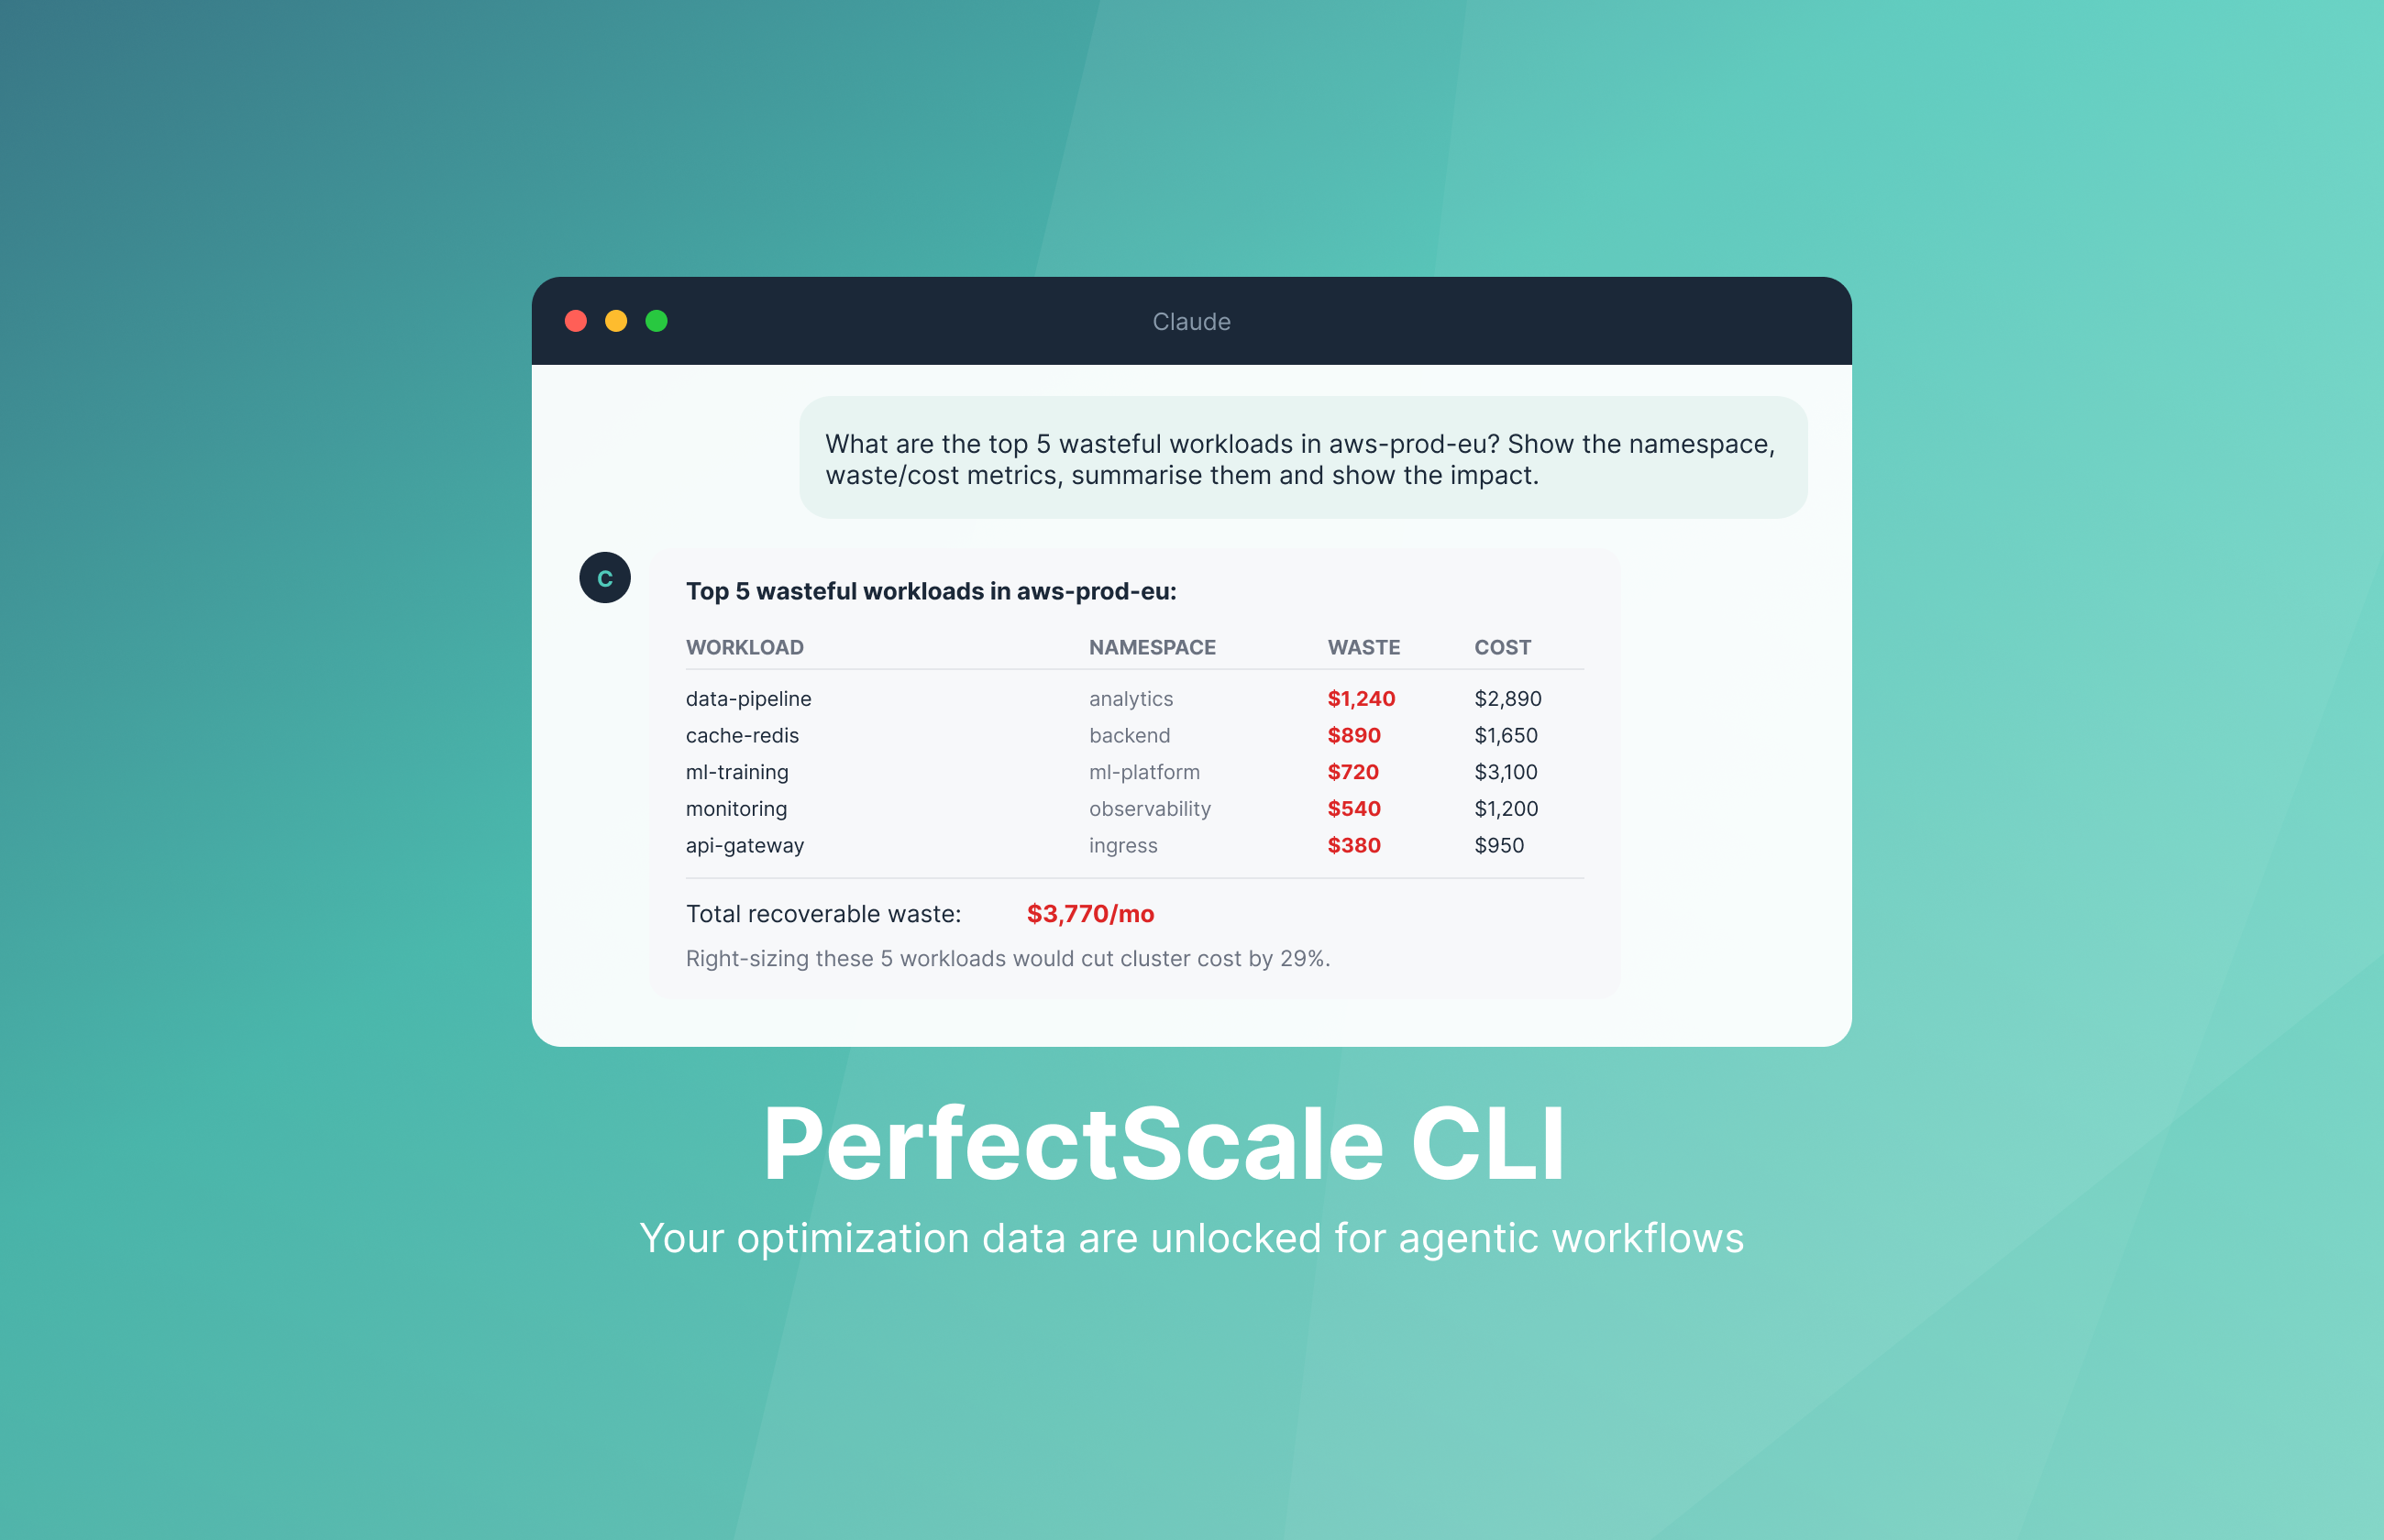
PerfectScale doesn’t just help you allocate ownership; it gives you continuous visibility into how resources are used per team, per owner, and per namespace. It highlights inefficiencies, right-sizes workloads automatically, and makes sure ownership rules aren’t just written in YAML but actually lived in practice.
By making ownership a first-class citizen and pairing it with the right tools like PerfectScale - you move to predictable, reliable, and cost-efficient operations. Take a trial and book a Demo today with PerfectScale Team.


Install in minutes and instantly receive actionable intelligence.


.png)